
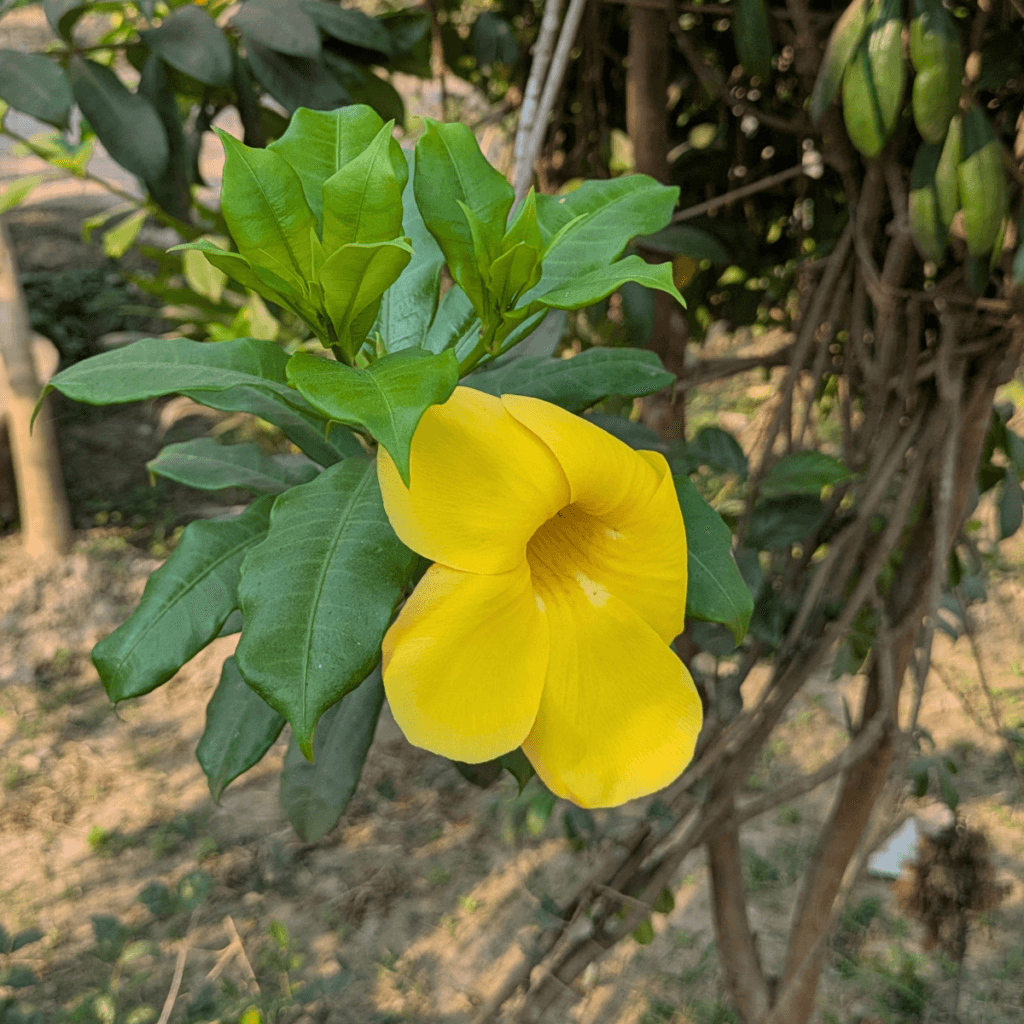
Allamanda, also known as the Golden Trumpet, is a beautiful flowering plant that is prized for its vibrant yellow flowers and lush green foliage. Propagating Allamanda through stem cuttings is one of the most effective and common methods for growing new plants. This guide will walk you through the process step-by-step, covering types of cuttings, preparation, care, and more. Let’s get started!
Types of Stem Cuttings for Allamanda Propagation
There are different types of stem cuttings you can use for propagating Allamanda, depending on the maturity and condition of the plant.
- Softwood Cuttings:
- These are taken from the younger, flexible growth of the plant.
- Best suited for propagation as they root faster.
- Semi-Hardwood Cuttings:
- These are slightly older stems that are partially matured.
- They’re sturdy and have a higher survival rate but may take longer to root.
- Hardwood Cuttings:
- Taken from mature and woody stems.
- These are less commonly used for Allamanda as they root slowly and require more care.

The Propagation Process
Step 1: Choosing the Right Time
Propagation is most successful during the spring and summer months when the plant is actively growing. Avoid winter or dormant periods, as the plant’s growth slows down, reducing the chances of successful rooting.
Step 2: Selecting and Preparing the Cutting
Look for a healthy stem that is free from pests or diseases. The stem should have at least 3-5 leaves and no flowers or buds (these drain energy). Use a clean, sharp pair of scissors or pruning shears to make a cut just below a node (the point where a leaf joins the stem). The cutting should be about 6-8 inches long.
Remove the lower leaves to leave 2-3 leaves at the top. This prevents excess water loss and focuses the plant’s energy on rooting. Dip the cut end of the stem in a rooting hormone to encourage faster and healthier root development.
Special Care During Propagation
Step 3: Preparing the Pot and Soil
Use a small pot with drainage holes to prevent waterlogging. Alternatively, you can propagate directly in a garden bed. Allamanda prefers well-draining soil. A mix of garden soil, sand, and compost (1:1:1 ratio) works well. Ensure the soil is moist but not soggy.
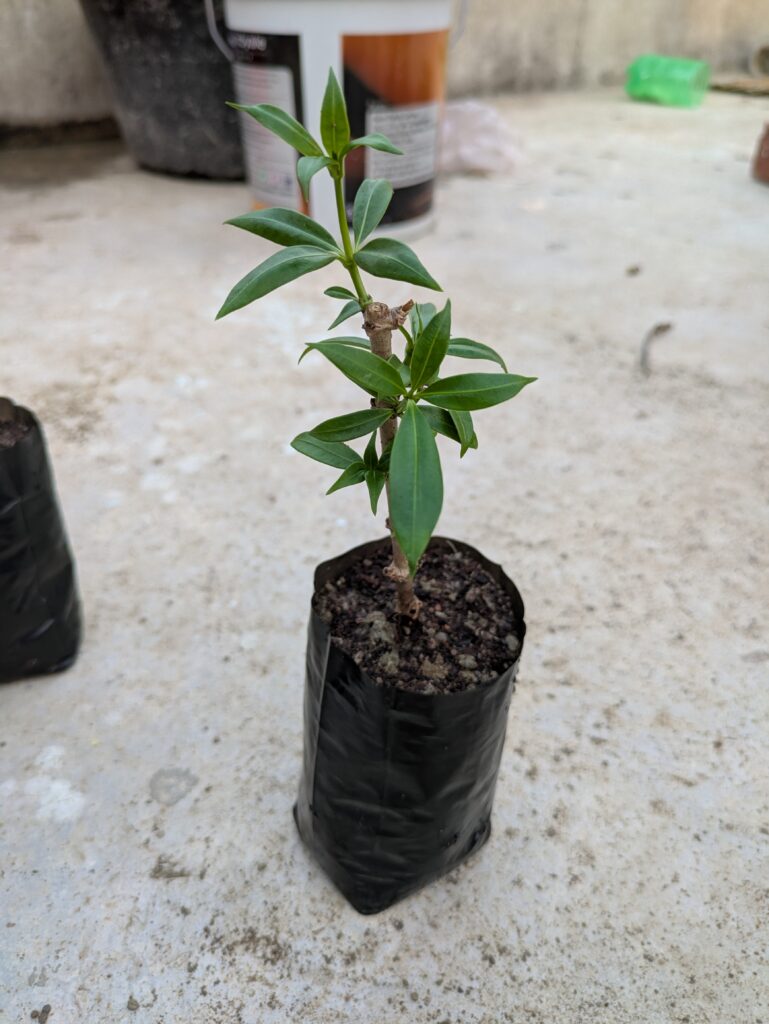
Step 4: Planting the Cutting
Use a pencil or your finger to create a small hole in the soil. This prevents damage to the cutting when inserting it. Place the cutting into the hole, ensuring at least 2-3 nodes are buried in the soil. Firmly press the soil around the base to secure the cutting. Lightly water the soil to keep it moist. Avoid overwatering, as this can cause the cutting to rot.
Light and Water Requirements
Place the cutting in a location that receives bright but indirect sunlight. Avoid direct sunlight initially, as it can stress the cutting. Once roots develop (in about 3-4 weeks), gradually move the plant to a sunnier location.
Check the soil regularly and water as needed to keep it moist but not waterlogged. Use a spray bottle for gentle watering during the early stages. Too much water can cause root rot. Ensure the pot has good drainage.
Depotting and Transplanting
Once the cutting develops roots (typically after 4-6 weeks), it’s time to transplant it to a larger pot or your garden.
Gently tug on the cutting. If you feel resistance, the roots have developed. Use a nutrient-rich, well-draining soil mix similar to the propagation soil. Ensure the new location receives plenty of sunlight. Carefully remove the cutting from the pot, being mindful not to damage the roots. Plant it in the new pot or bed and water it thoroughly.
Common Challenges and Troubleshooting
Likely due to overwatering or underwatering. Check soil moisture levels. Ensure you’re propagating during the right season and using healthy cuttings. Rooting hormone can help speed up the process. Use sterilized tools and well-draining soil to prevent fungal infections. Watch for pests like aphids or mealybugs. Treat with neem oil if necessary.
Final Tips for Success
Propagation takes time. Don’t disturb the cutting unnecessarily. Always use clean, sterilized tools to prevent infections. If propagating multiple plants, label each pot to keep track. Keep the humidity high by covering the cutting with a plastic bag or dome, but ensure proper ventilation.
Conclusion
Allamanda stem cutting propagation is a rewarding process that allows you to grow new plants with minimal effort. By following the steps outlined above—from selecting the right cutting to providing optimal care—you’ll be able to enjoy the beauty of this vibrant plant in no time. Remember to be patient and consistent, and soon you’ll have thriving Allamanda plants to enhance your garden or indoor space.
Happy gardening!


